headless-chromeとpuppeteerを使った、web操作の自動化とscraping
headless-chromeとpuppeteerを使った、web操作の自動化とscraping
puppeteerとは
Puppeteer is a Node library API that allows us to control headless Chrome.
$ npm i puppeteer
Headless Chromeとは
Headless Chrome is a way to run the Chrome Browser without actually running Chrome.
Taking a Screenshot
1  const puppeteer = require('puppeteer');
2
3  async function getPic() {
4   const browser = await puppeteer.launch();
5   const page = await browser.newPage();
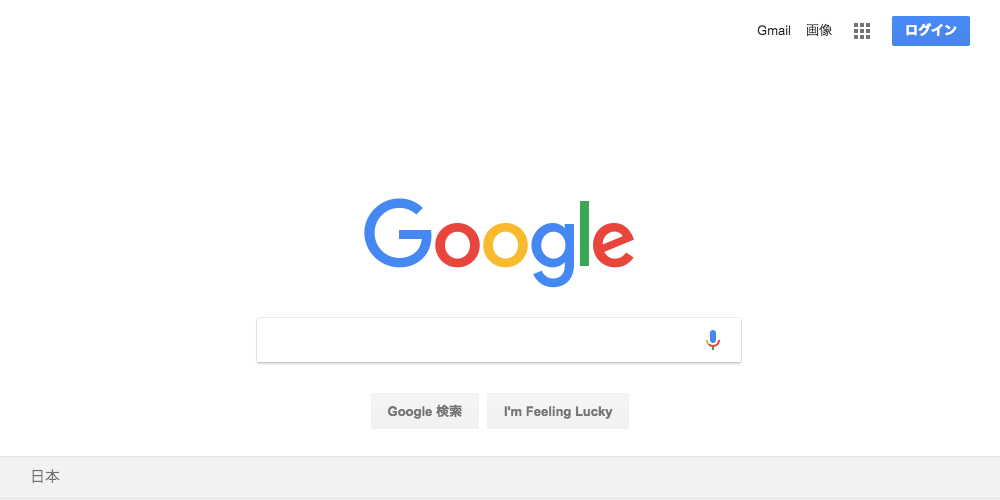
6   await page.goto('https://google.com');
7   await page.screenshot({path: 'google.png'});
8
9   await browser.close();
10 }
11
12 getPic();
Something important to note is that our getPic() function is an async function and makes use of the new ES 2017 async/await features.
L4 We’re essentially launching an instance of Chrome and setting it equal to our newly created browser variable.
L5 Here we create a new page in our automated browser.
L6 In this example, we’re navigating to google. Our code will pause until the page has loaded.
L7 Now we’re telling Puppeteer to to take a screenshot of the current page
L9 we close down our browser

- const browser = await puppeteer.launch();
+ const browser = await puppeteer.launch({headless: false});
you can actually watch Google Chrome work as it navigates through your code.
+ await page.setViewport({width: 1000, height: 500})

Scrape some Data
1 const puppeteer = require('puppeteer');
2
3 let scrape = async () => {
4     const browser = await puppeteer.launch({headless: false});
5     const page = await browser.newPage();
6
7     await page.goto('http://books.toscrape.com/');
8     await page.click('#default > div > div > div > div > section > div:nth-child(2) > ol > li:nth-child(1) > article > div.image_container > a > img');
9     await page.waitFor(1000);
10
11    const result = await page.evaluate(() => {
12        let title = document.querySelector('h1').innerText;
13        let price = document.querySelector('.price_color').innerText;
14
15        return {
16            title,
17            price
18        }
19
20    });
21
22      browser.close();
23      return result;
24. };
25
26  scrape().then((value) => {
27      console.log(value); // Success!
28  });
L8 We now have our selector copied and we can insert our click method into our program.
L11 In order to retrieve these values, we’ll use the page.evaluate() method. This method allows us to use built in DOM selectors like querySelector().
❯ node scrape.js
{ title: 'A Light in the Attic', price: '£51.77' }
Perfecting it
     const page = await browser.newPage();

     await page.goto('http://books.toscrape.com/');
-    await page.click('#default > div > div > div > div > section > div:nth-child(2) > ol > li:nth-child(1) > article > div.image_container > a > img');
-    await page.waitFor(1000);

     const result = await page.evaluate(() => {
-        let title = document.querySelector('h1').innerText;
-        let price = document.querySelector('.price_color').innerText;
+        let data = []; // Create an empty array that will store our data
+        let elements = document.querySelectorAll('.product_pod'); // Select all Products

-        return {
-            title,
-            price
+        for (var element of elements){ // Loop through each proudct
+            let title = element.childNodes[5].innerText; // Select the title
+            let price = element.childNodes[7].children[0].innerText; // Select the price
+
+            data.push({title, price}); // Push an object with the data onto our array
         }

+        return data; // Return our data array
     });

     browser.close();
感想
結構簡単なコードでいろいろ動かせるので、おもしろい。 ただ、今回なんとなくの理解だったES2017のasync/awaitは勉強したい。
https://github.com/tenshotanaka/scripts/pull/3/commits/51c934da451de50978401370f2bec908c97e47ad
